Hey everyone, it’s your boy back again with another project. This time, I tackled the Lockheed Constellation plastic model kit. I have to say, it was quite the experience, and I’m here to share all the nitty-gritty details with you all.
First off, I got my hands on this re-release of the Lockheed Constellation L-1049G by Revell. I heard it’s way better than the older Revell one and has a lot more detail than that Academy kit. So, naturally, I was pretty pumped to start this build.

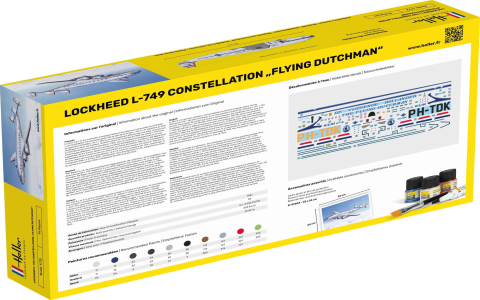
Now, for those who don’t know, the Lockheed Constellation, or “Connie” as some folks call it, is this cool propeller-driven airliner that Lockheed made between 1943 and 1958. They churned out a whopping 856 of these bad boys, with all sorts of civilian and military versions.
The kit I worked with is the Lockheed C-121C Constellation by Revell, number 04269, and it’s a 1:144 scale full kit. I decided to go with this specific version because I found the history pretty fascinating, and it looked like a good challenge.
So, I rolled up my sleeves and dived in. The first thing I did was lay out all the parts and check the instructions. Let me tell you, there were a lot of small pieces, but the instructions were fairly clear, which was a relief.
- Started by assembling the fuselage, which was a bit tricky. Had to be really careful with the glue to make sure everything lined up perfectly.
- Next, I moved on to the wings. These were easier to put together, but I still took my time to avoid any mistakes.
- Then came the engines. Each one had multiple parts, so it was a bit time-consuming, but pretty satisfying to see them take shape.
- After that, I attached the wings and engines to the fuselage. This was a crucial step, and I double-checked everything to make sure it was solid.
- Finally, I added all the little details like the landing gear, antennas, and propellers. This was the most tedious part, but it really brought the model to life.
Once everything was assembled, I moved on to painting. This is my favorite part. I carefully chose authentic colors, trying to match the original design as closely as possible. After the base colors were on, I added some weathering effects to make it look more realistic. You know, like it’s seen some action.
Finished the whole thing by applying the decals. This was a delicate process, but it really made the model pop. Seeing those markings on the plane made all the hard work worth it.
The Final Result
All in all, this project took me a few weeks to complete, working on it on and off. It was definitely a challenging build, but I’m really happy with how it turned out. This Lockheed C-121C Constellation model is now proudly displayed on my shelf, and it’s a great conversation starter.
If you’re into model kits and looking for a good challenge, I’d definitely recommend this one. Just be prepared to invest some time and patience, and you’ll have a fantastic model to show for it.
Alright, that’s it for this project. Stay tuned for more builds and other cool stuff. And as always, thanks for stopping by!


