Okay, so the other day, I was trying to mix this paint for a model I’m working on. The instructions said I needed a 1:10 ratio, and honestly, I was a little confused at first. What did that even mean? I did some digging, and here’s the lowdown, along with how I actually went about it.
Figuring Out the 1:10 Thing
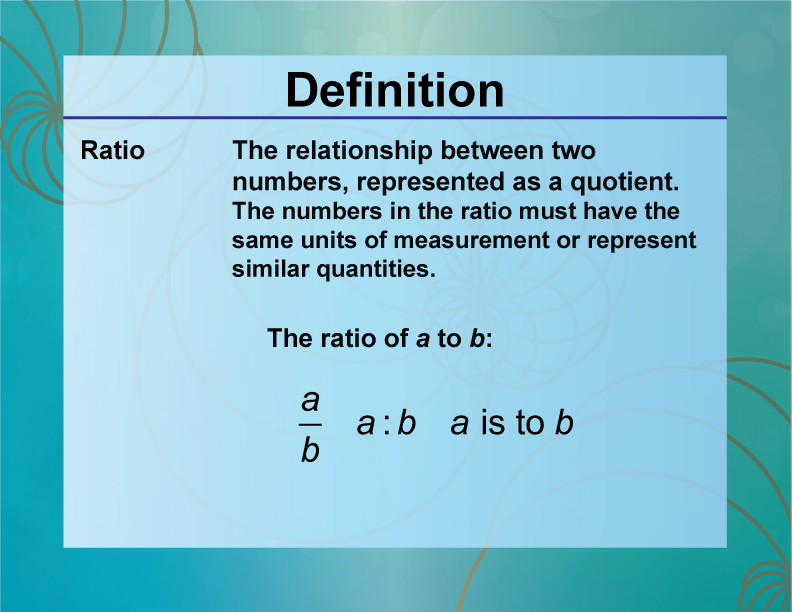
So, this “1:10” thing is all about how much of one thing you have compared to another. In my case, it was paint to thinner. The “1” represents the paint, and the “10” represents the thinner. It basically means for every one part of paint, you need ten parts of thinner.
My Mixing Adventure
- Gathering My Supplies: First, I grabbed my paint, the thinner, and a couple of little containers. I also got a small measuring spoon – I used one for baking because it was more precise than the liquid cup.
- The Small-Scale Test: Since I’m a klutz, I didn’t want to mess up a whole batch of paint. So, I started small. I put one tiny spoonful of paint into a container.
- Adding the Thinner: Then, using the same spoon, I added ten spoonfuls of thinner to the paint. It looked like a lot of thinner compared to the paint, but hey, that’s the ratio!
- Mixing it Up: I used a small stick to mix the paint and thinner together until it was all one smooth color and consistency. No lumps or streaks!
- Testing the Mix: Before using it on my model, I tested the mixture on a scrap piece of plastic. Just wanted to make sure it flowed nicely and the color looked right.
The Result
It worked! The paint was the perfect consistency – not too thick, not too runny. It went on smoothly and evenly, and I was pretty happy with the result. I am confident that the model is painted evenly and looks great.
It is great to share my paint mixing for today and hope it helps for anyone who is struggling with the paint mixing ratio!


