Today, I tried to make some constellation plates. Let me tell you, it was a bit of a journey, but a fun one!
First, I gathered all the materials. I needed some small plates, you know, the ones for salads or bread, since constellation maps aren’t exactly huge. Dinner plates would have been way too big for this project. I also grabbed some paint and brushes.
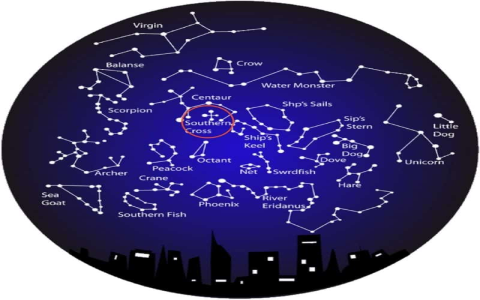
Next, I started by sketching out the constellations on paper. I figured it’s better to plan things out first. I picked a few of my favorites, like Ursa Major and Orion, nothing too complicated. Once I had a rough idea, I lightly penciled the designs onto the plates. This was a bit tricky, trying to get the proportions right and all that.
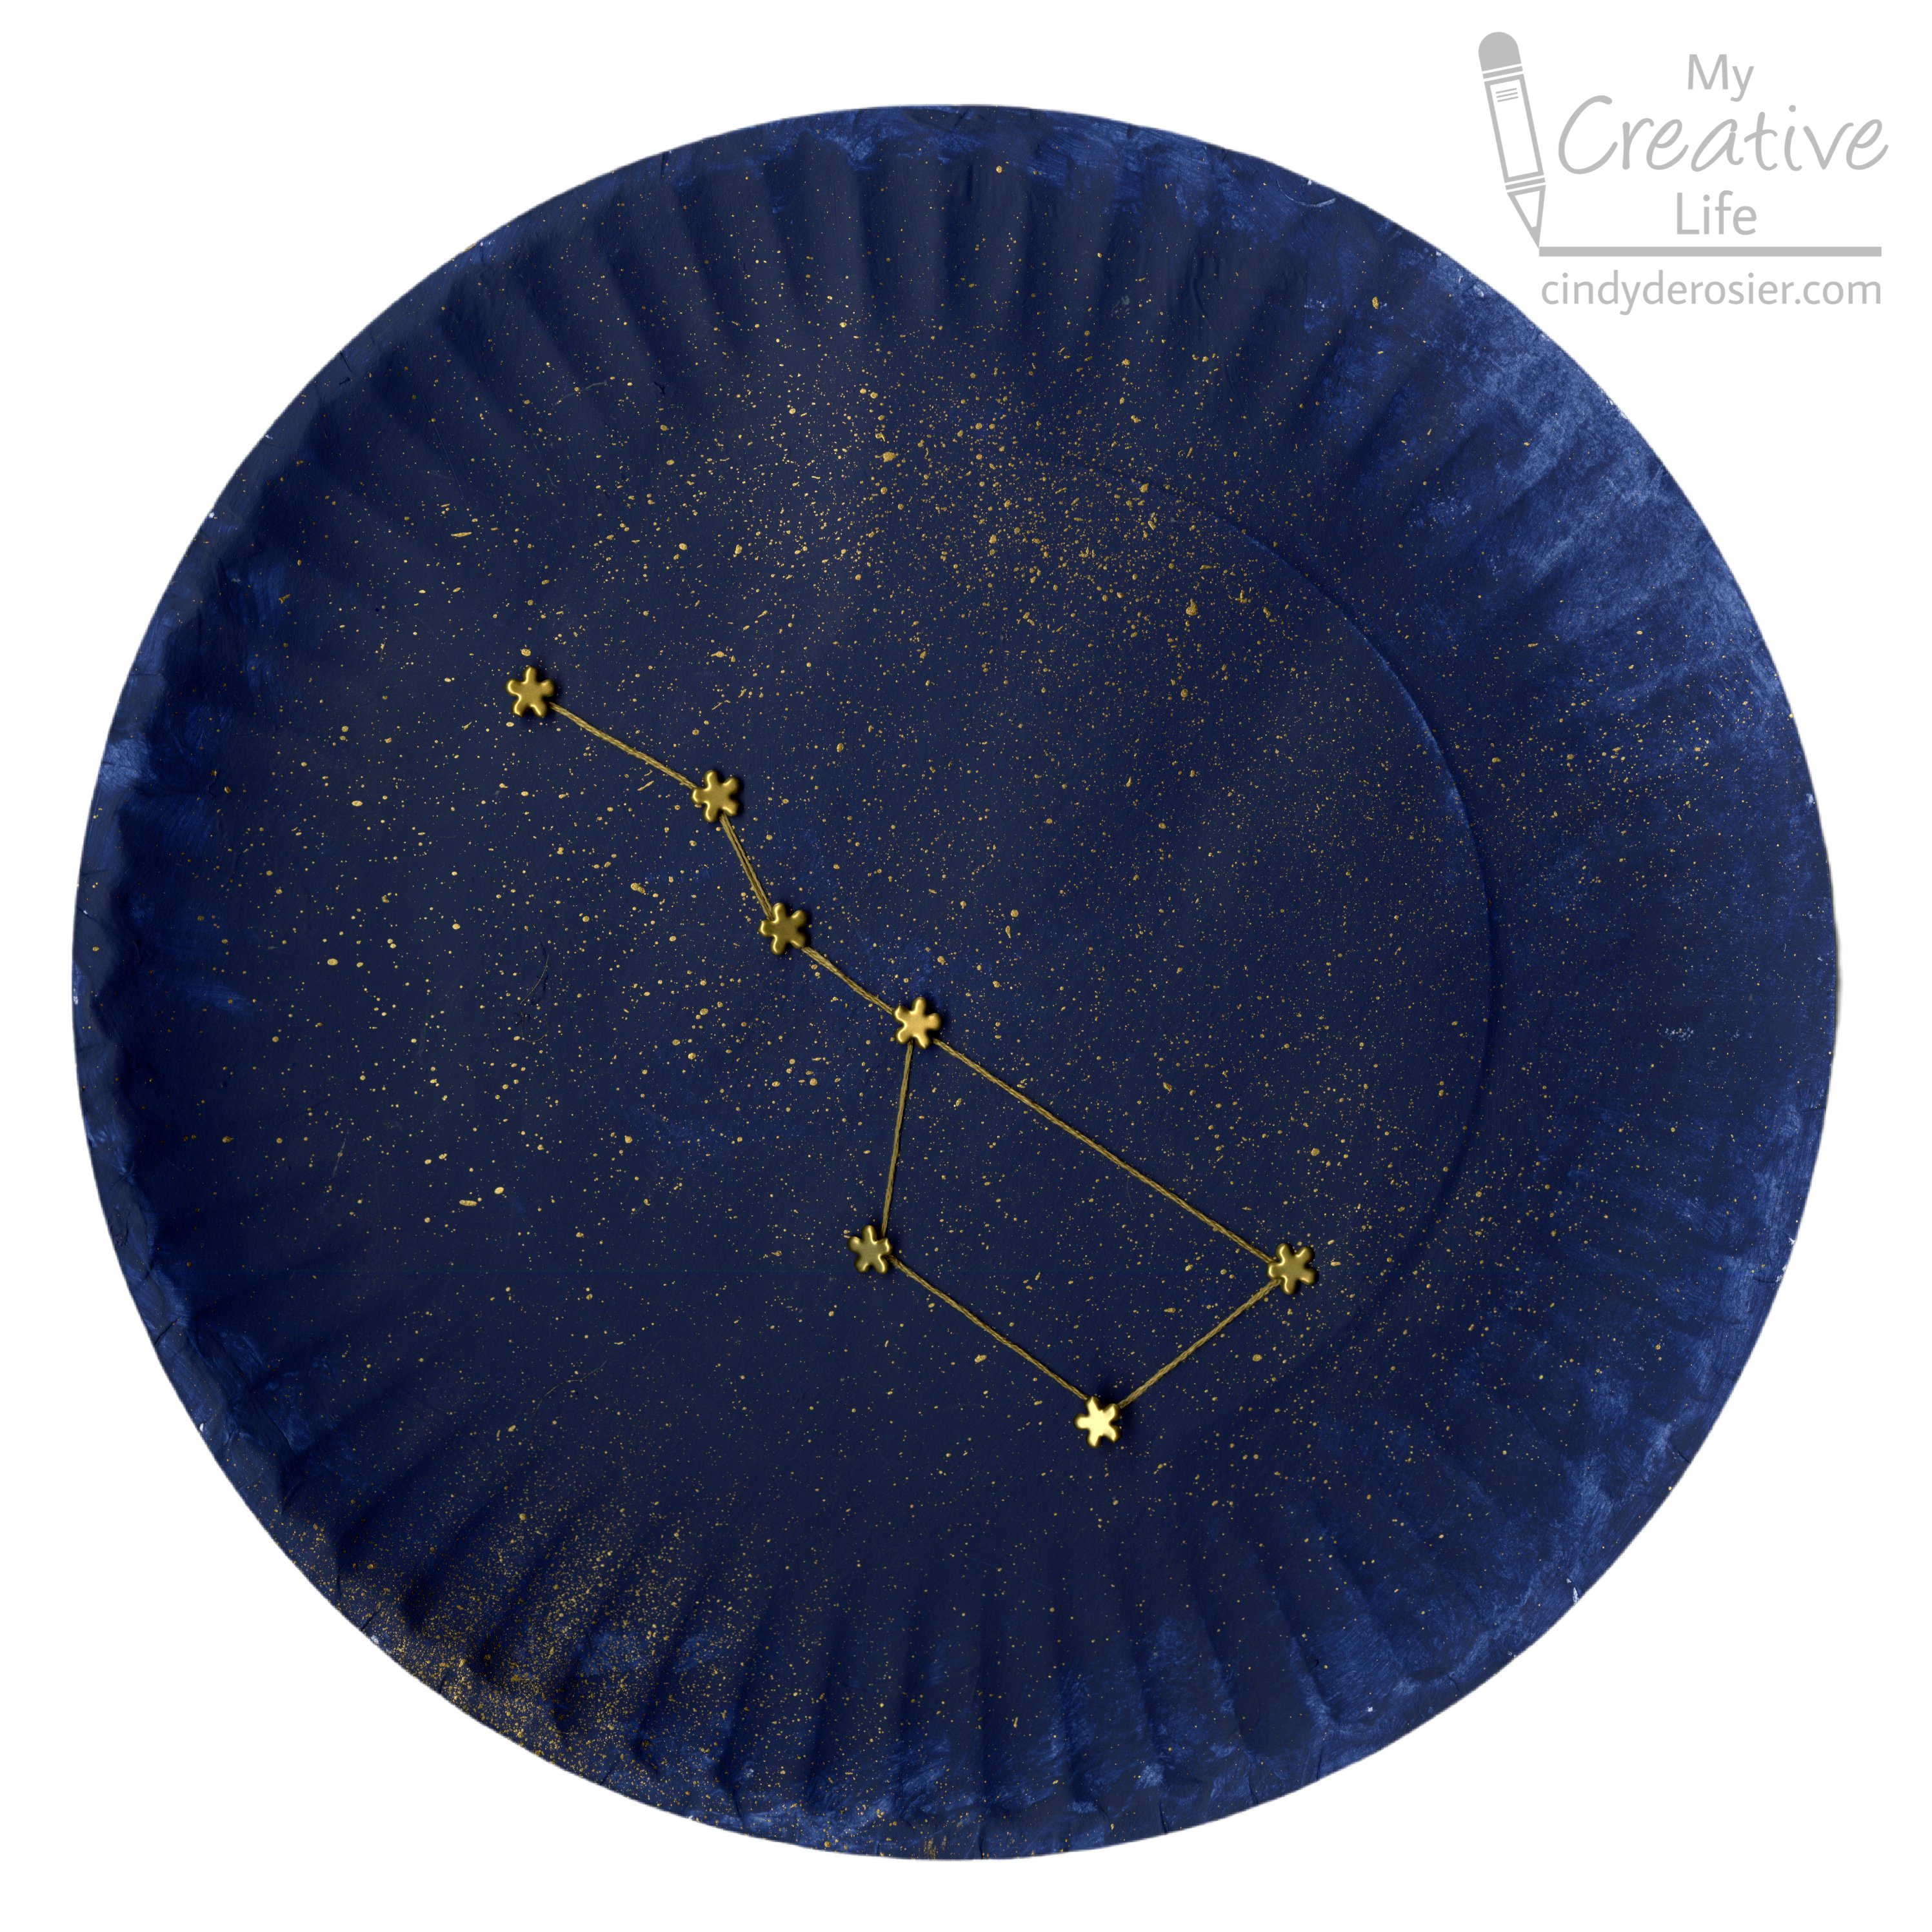
Then came the fun part – painting! I carefully painted over the pencil lines, making sure not to smudge anything. I used some dark blue for the background to make it look like the night sky and a sparkly gold for the stars, which is not really realistic but I love it. The dots for the stars were easy, but getting the lines connecting them just right took some patience. And also, I found that there are some labels with ‘X’ and ‘Y’ on the plate designs. I guess it’s a way to help people align the constellation, but for me, I just followed the general shape and made sure it looked somewhat accurate. It seems that ‘X’ increases to the right, and ‘Y’ increases down, which is kind of useful.
- Prepare the plates: I made sure the plates were clean and dry before starting.
- Sketch the design: I used a pencil to lightly sketch the constellation design on the plate.
- Paint the base: I painted the background first, letting it dry completely before moving on.
- Add the stars: I used a small brush to carefully paint the stars, making sure they were evenly spaced.
- Connect the stars: I drew thin lines to connect the stars, forming the constellation shape.
- Let it dry: I gave the plates plenty of time to dry completely before handling them.
After the paint dried, I added a clear sealant to protect the design. It was a bit messy, but I wanted to make sure the paint wouldn’t chip off. Some people say you can bake them to make them more durable, but I didn’t try that this time. Maybe next time, when I’m feeling more adventurous!
Finally, I had my very own set of constellation plates! They’re not perfect, but I’m pretty happy with how they turned out. It was a fun little project, and now I have some unique plates to use for snacks or just to display. I also found some related information online, like how to choose the right star chart, and how to use a telescope to explore the real constellations. Maybe I’ll try that someday, but for now, I’m happy admiring my handmade constellation plates.


