Oh, man, let me tell you about this project I’ve been working on. It’s called a “constellation plate,” and it’s basically a map of the stars for a specific date and location. Sounds cool, right? Well, it’s been a bit of a journey, let me tell ya.
So, I got this crazy idea one day to make a personalized gift for my friend’s birthday. I wanted to give him something unique, you know? Not just another boring gift card. I started poking around online for inspiration, and I stumbled upon these beautiful star maps. I thought, “Hey, I could totally make one of those!”

First, I needed to figure out how to actually create the star map. I found some tools online that let you design your own, but I wanted to do it all myself. I mean, where’s the fun in using a pre-made thing, right? I found some star data online, it was a huge mess of information. I started messing around, trying to plot the stars on a circle.
My initial attempts were, let’s just say, not very impressive. It looked more like a toddler had scribbled on a piece of paper than an actual constellation map. But I’m not one to give up easily, you know? I kept at it, experimenting with different techniques. Finally, I figured out how to show the stars with their right positions. It was a “Eureka!” moment, for sure.
Next, I needed to add the constellation lines. This was a bit easier, to be honest. I just had to find the patterns, and draw the lines on it. Finally, I got the constellation on the plate, man, it was really satisfying when I finally got it right.
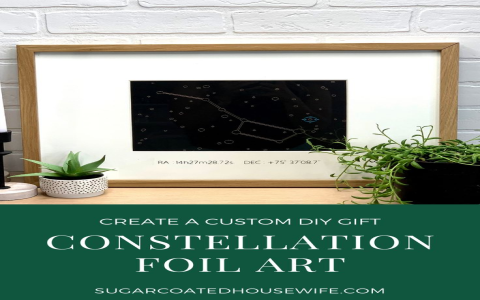
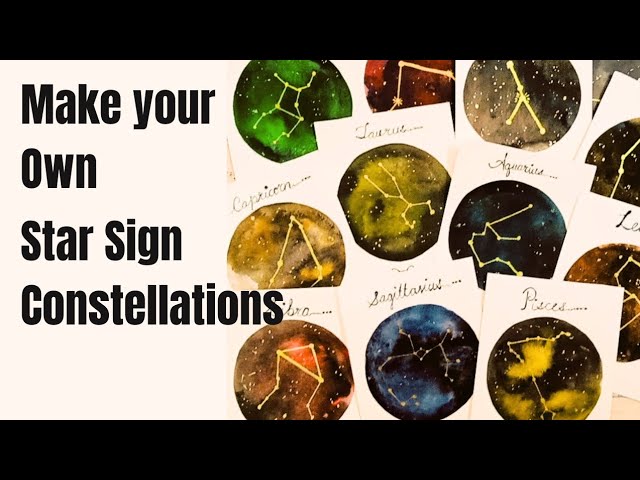
Then came the fun part: making it look pretty! I experimented with different background colors and fonts. I wanted it to have a vintage, yet modern feel. After a lot of trial and error, I settled on a dark blue background with white stars and text. It looked awesome, if I do say so myself.
I chose a nice, sturdy wooden plate as the base for my star map. I printed out my design and carefully transferred it onto the plate. Then, I used a special kind of paint to make the stars really pop. It was a bit time-consuming, but totally worth it in the end.
Let me tell you, the look on my friend’s face when I gave him the finished constellation plate was priceless. He absolutely loved it! He said it was the most thoughtful and unique gift he’d ever received. And you know what? I felt pretty darn proud of myself, too.
So, there you have it, my adventure in creating a constellation plate. It wasn’t always easy, but it was definitely a rewarding experience. If you’re looking for a unique and personalized gift idea, I highly recommend giving it a try. Just be prepared to put in a little bit of elbow grease, and don’t be afraid to make a few mistakes along the way. It’s all part of the fun!
- Started with an idea for a unique gift.
- Researched star maps and how to create them.
- Experimented with different techniques to plot the stars.
- Added constellation lines to connect the stars.
- Designed the overall look of the plate.
- Transferred the design onto a wooden plate.
- Painted the stars to make them stand out.
- Successfully created a personalized constellation plate.
- Felt a great sense of accomplishment and made a friend very happy.
This whole thing taught me that even if something seems complicated at first, you can totally figure it out if you just keep trying. Plus, making something with your own two hands is just way more satisfying than buying something from a store. So yeah, that’s my constellation plate story. Hope you enjoyed it!


