Okay, here is a blog post about making a constellation zodiac necklace, written in the style and tone you specified:
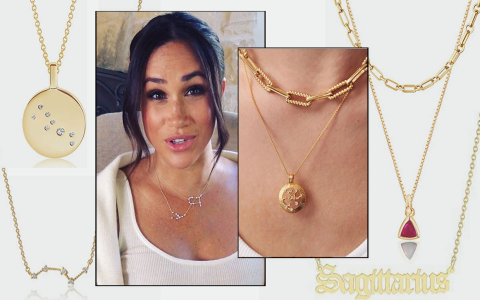
So, I’ve been seeing these constellation necklaces everywhere lately, and I gotta say, I was totally feeling the vibe. I mean, who doesn’t love a little bit of personalized bling, right? But, the ones I saw online were kinda pricey, and honestly, not exactly what I was looking for. So what did I do? I decided to make my own, obviously!
First things first, I gathered all my supplies. This wasn’t too hard, just a quick trip to the craft store. I picked up some delicate chain, a clasp, some jump rings, and a small pendant base. For the constellation itself, I opted for these tiny little beads that looked like stars. I also grabbed some pliers, and some strong glue, gotta keep those stars in place!
Getting Crafty
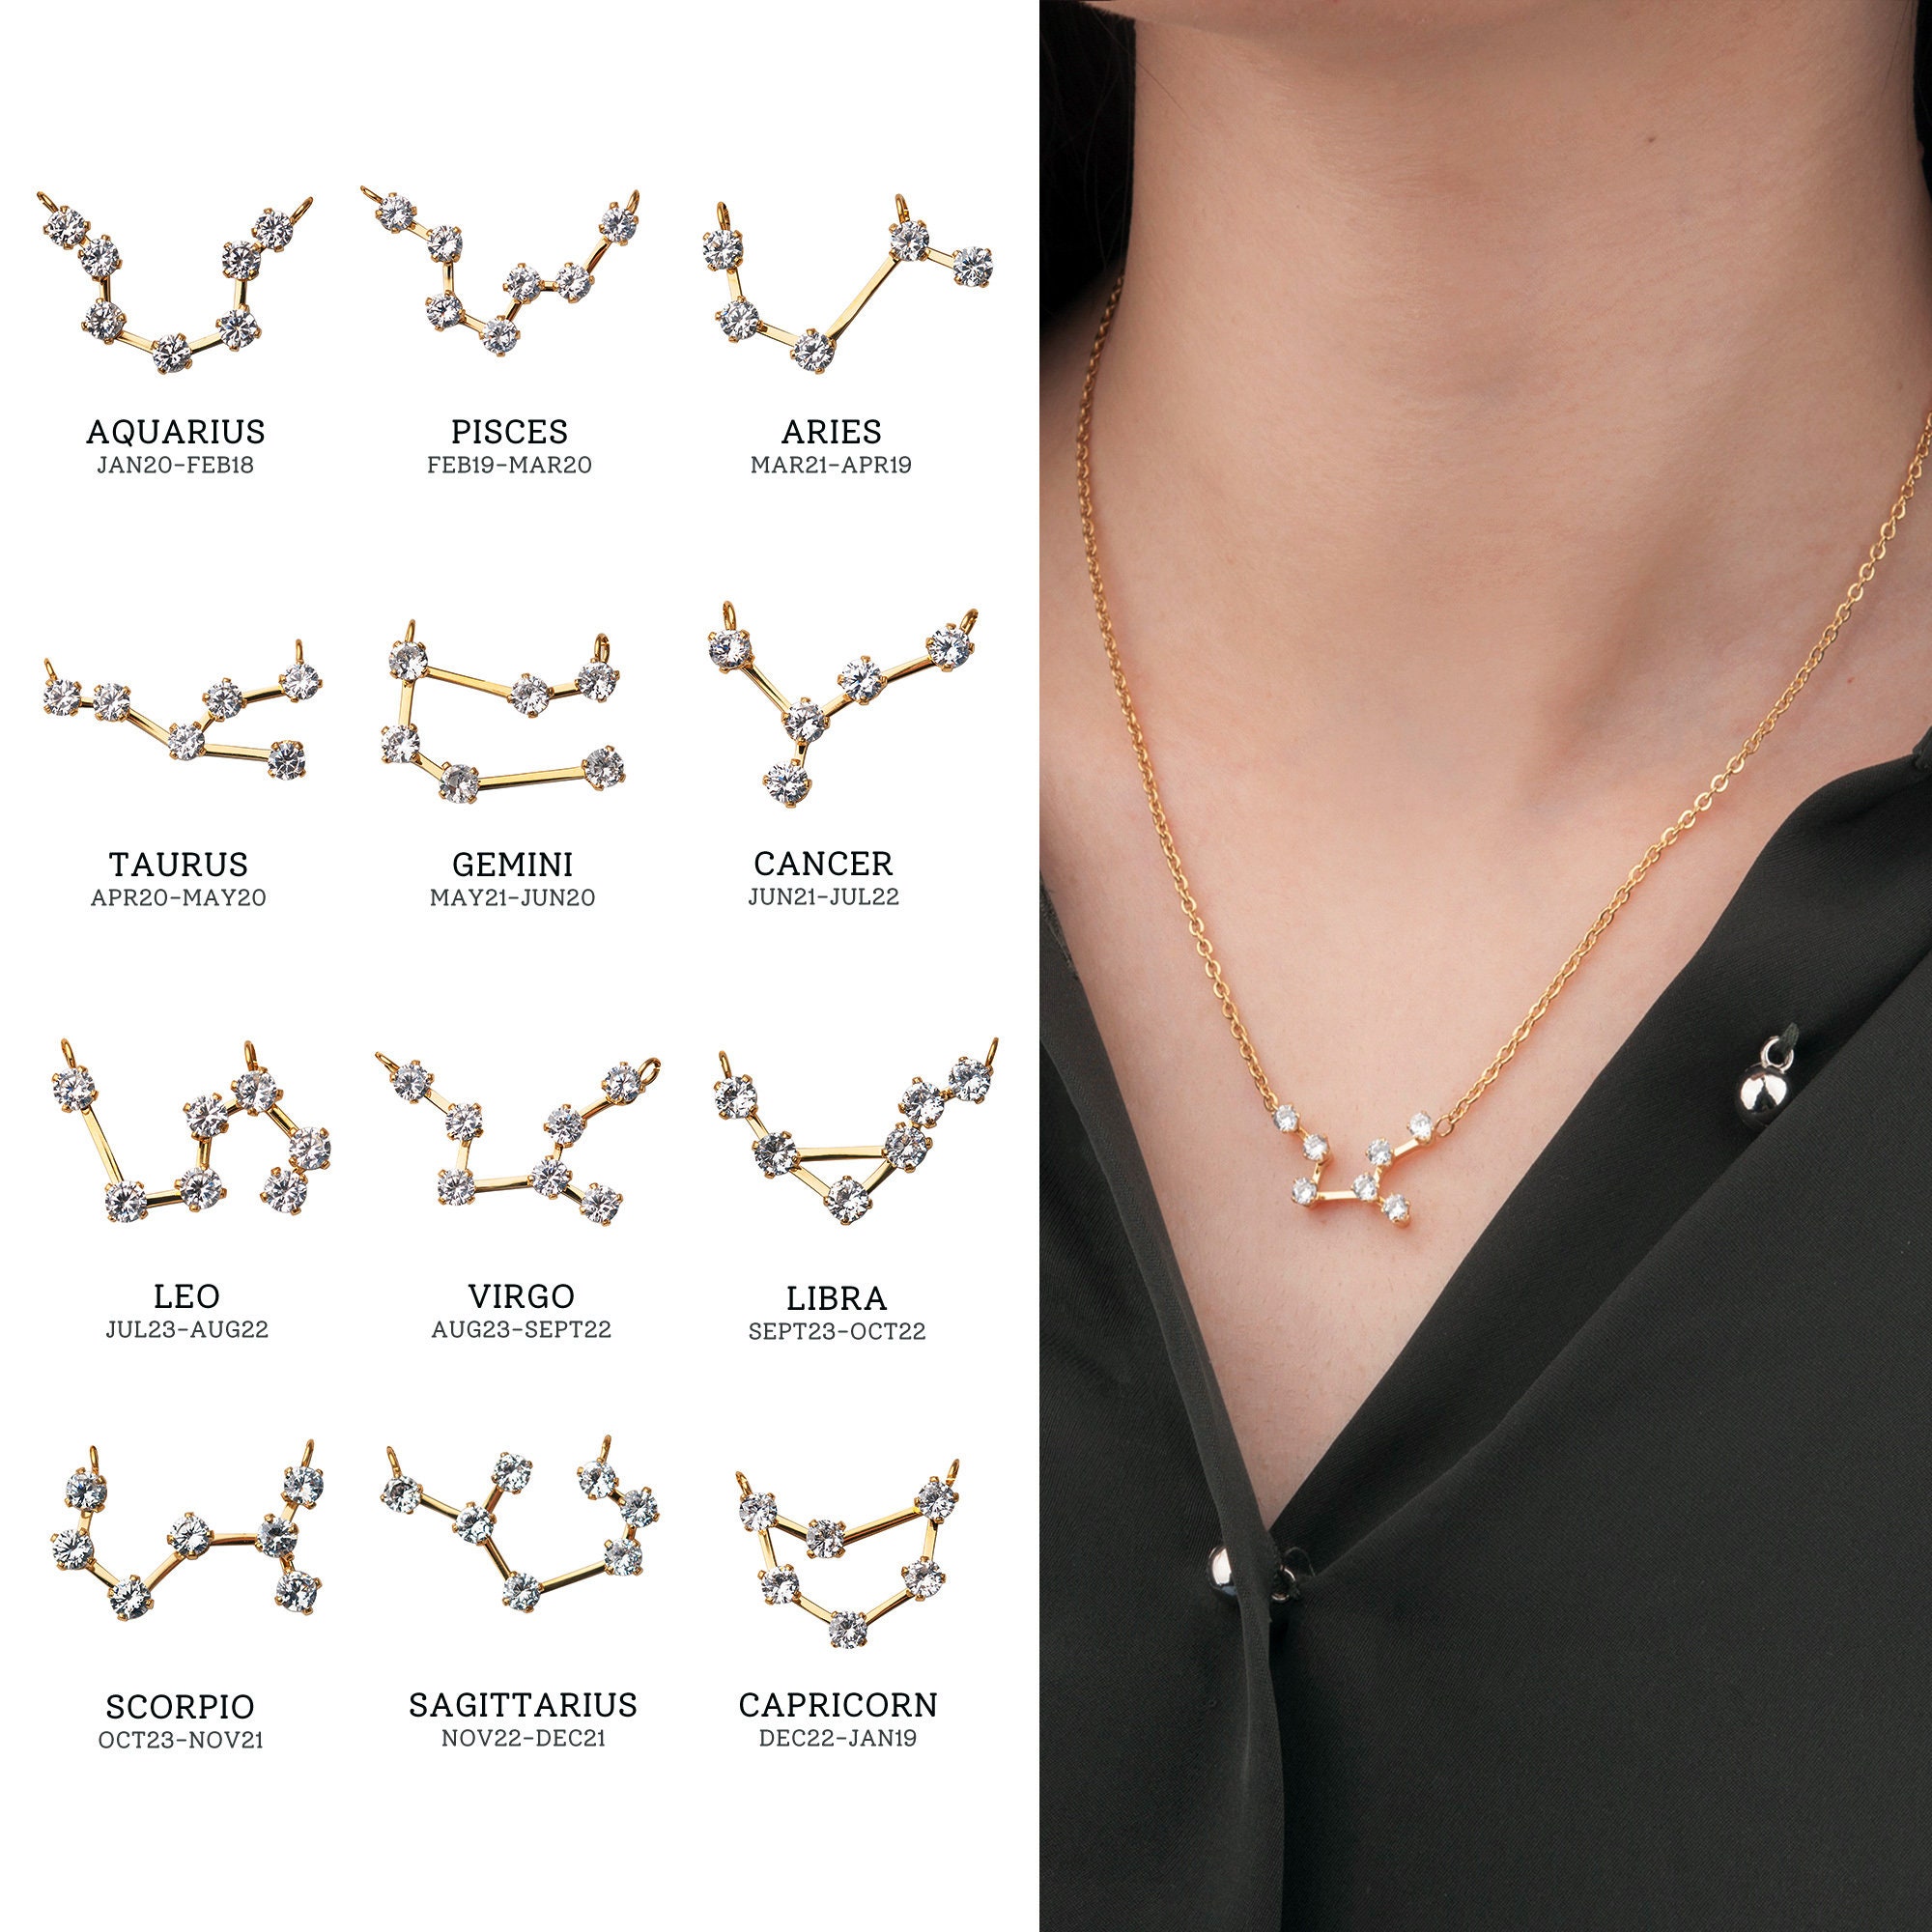
The real fun began when I started mapping out the constellations. I wanted to do my zodiac sign, which is Libra. I just pulled up a picture of the Libra constellation online and used that as a guide. I laid out the little star beads on the pendant base, moving them around until they looked just right. It was a bit fiddly, I’m not gonna lie, but I eventually got them into a formation that I liked.
Once I was happy with the layout, I carefully glued each bead onto the pendant. I used a toothpick to apply the glue, made it easier to be precise. Then came the hardest part – waiting for it to dry! I’m super impatient, so this was pure torture. But I resisted the urge to touch it, and after what felt like forever, the glue was finally set.
Putting It All Together
After the pendant was dry, I attached a jump ring to it and then threaded it onto the chain. Added the clasp to the ends of the chain using a couple more jump rings, and voila! My very own, handmade constellation necklace was born.
- First, gather supplies: chain, clasp, jump rings, pendant base, small beads, pliers, and glue.
- Then, design the constellation on the pendant with beads.
- Next, glue the beads to the pendant and let it dry.
- Finally, assemble the necklace by attaching the pendant to the chain and adding the clasp.
Honestly, I’m super proud of how it turned out. It’s exactly what I wanted, and it was way cheaper than buying one. Plus, it’s got that extra special touch because I made it myself. I’ve been wearing it non-stop, and I get so many compliments. If you’re thinking about making one, I say go for it! It’s a fun little project, and you end up with a unique piece of jewelry. You really can not go wrong with it!


